|
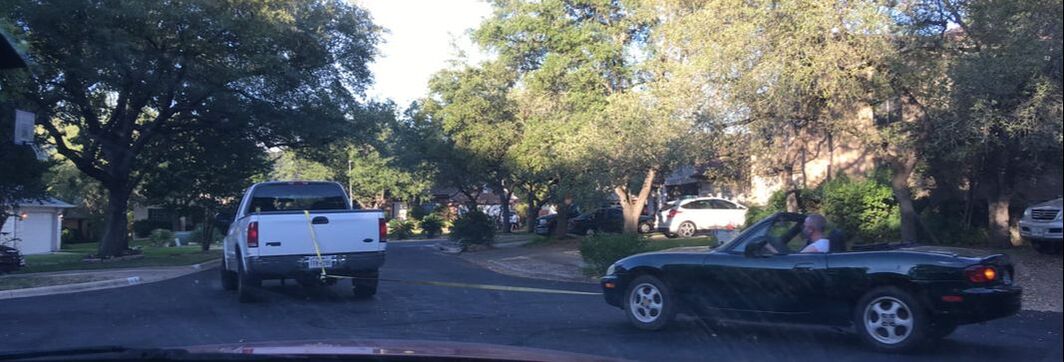
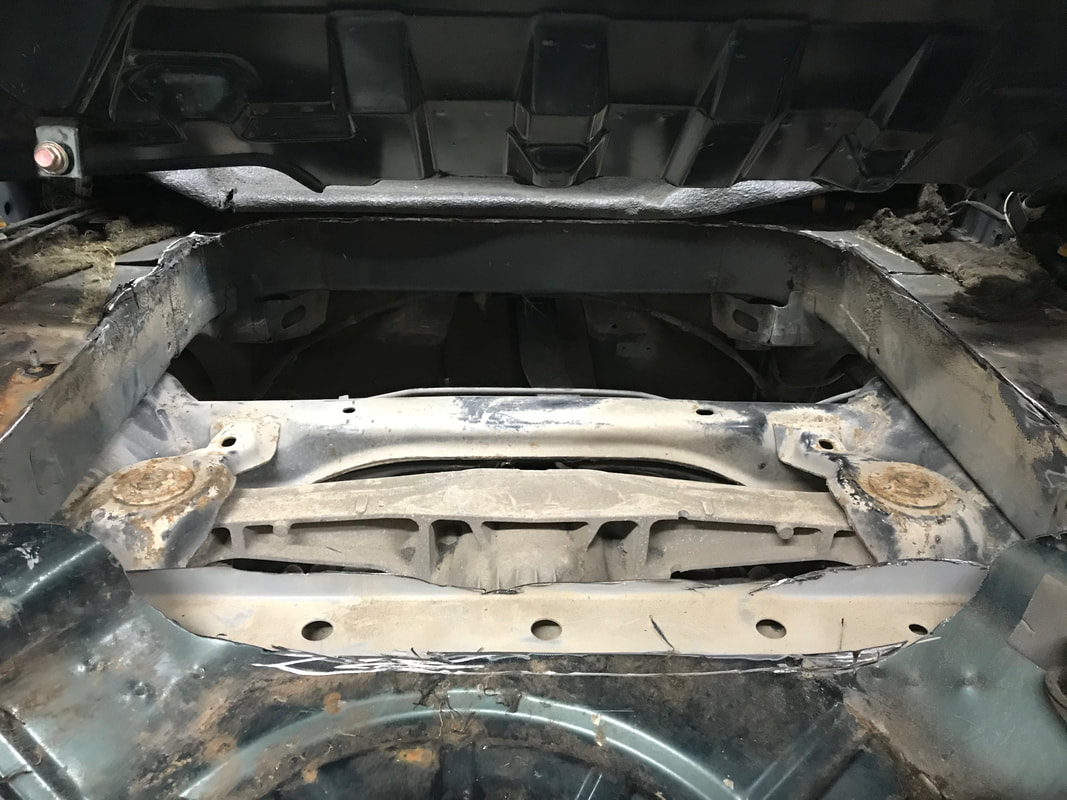
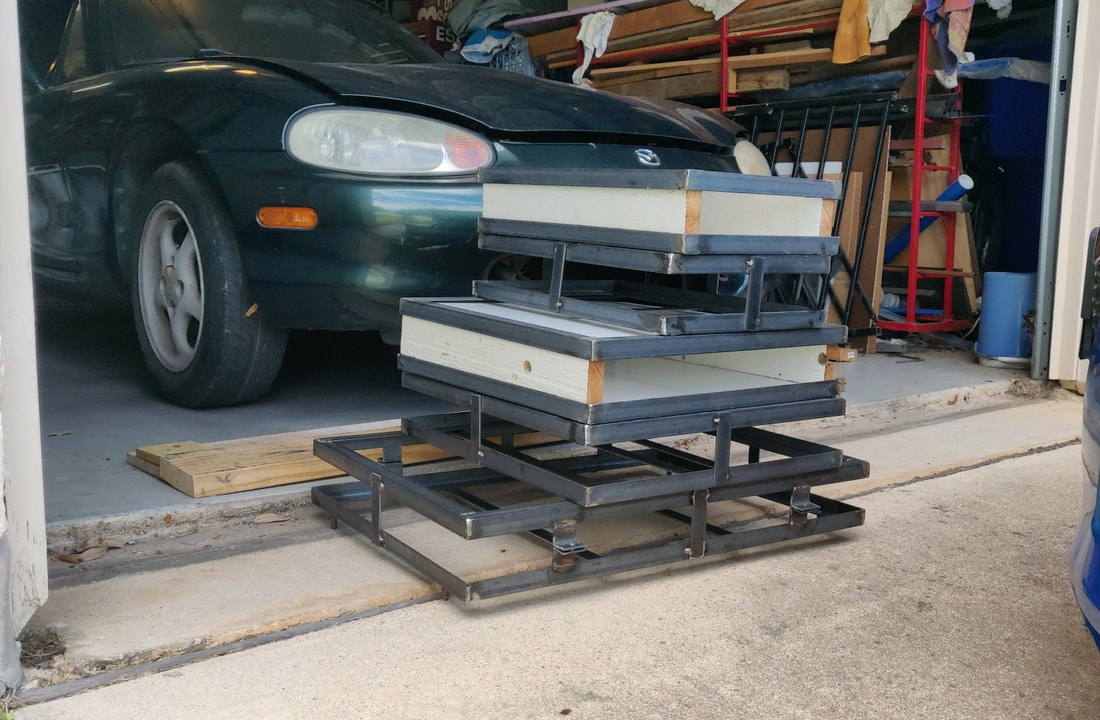
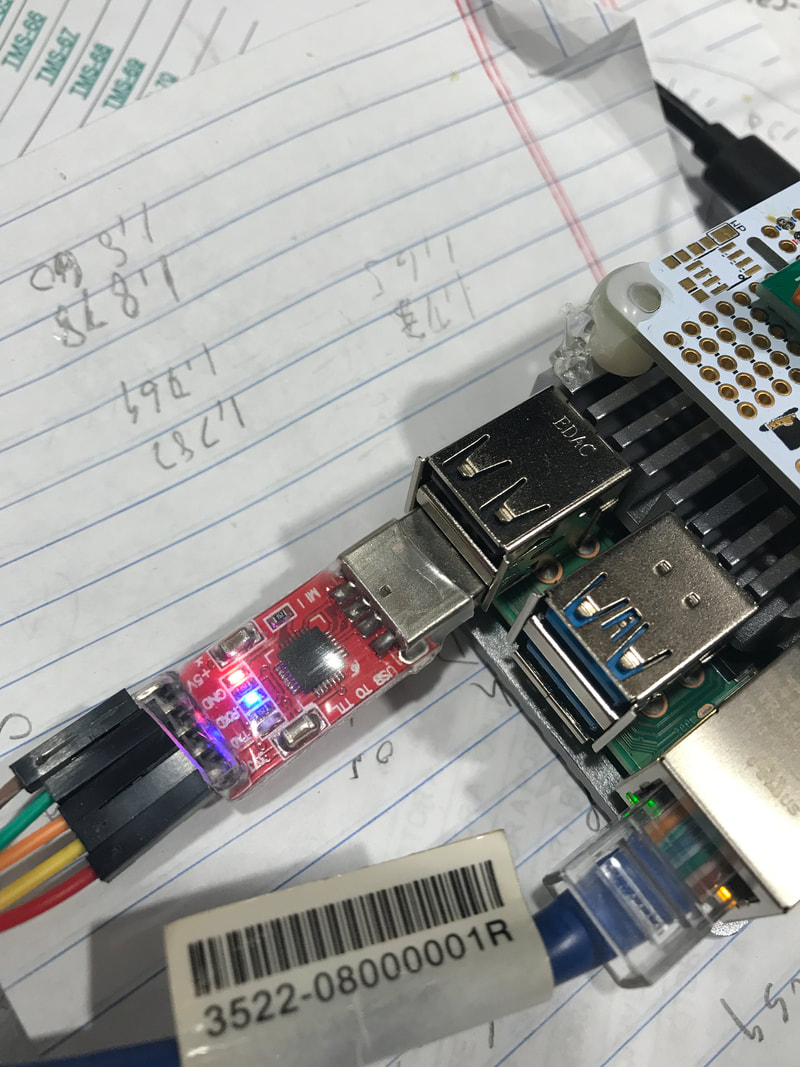
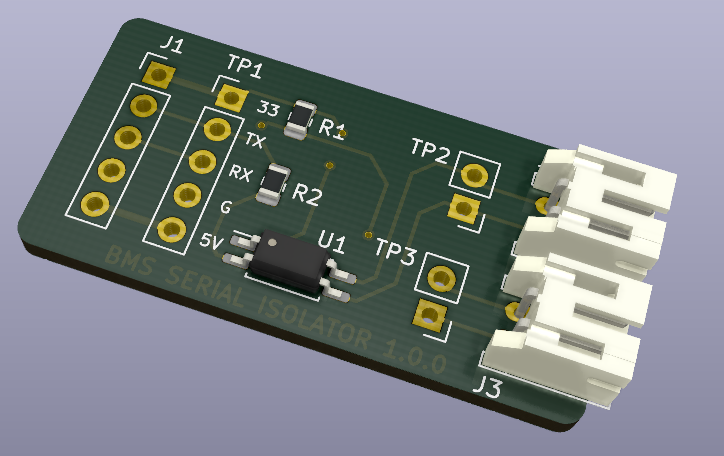
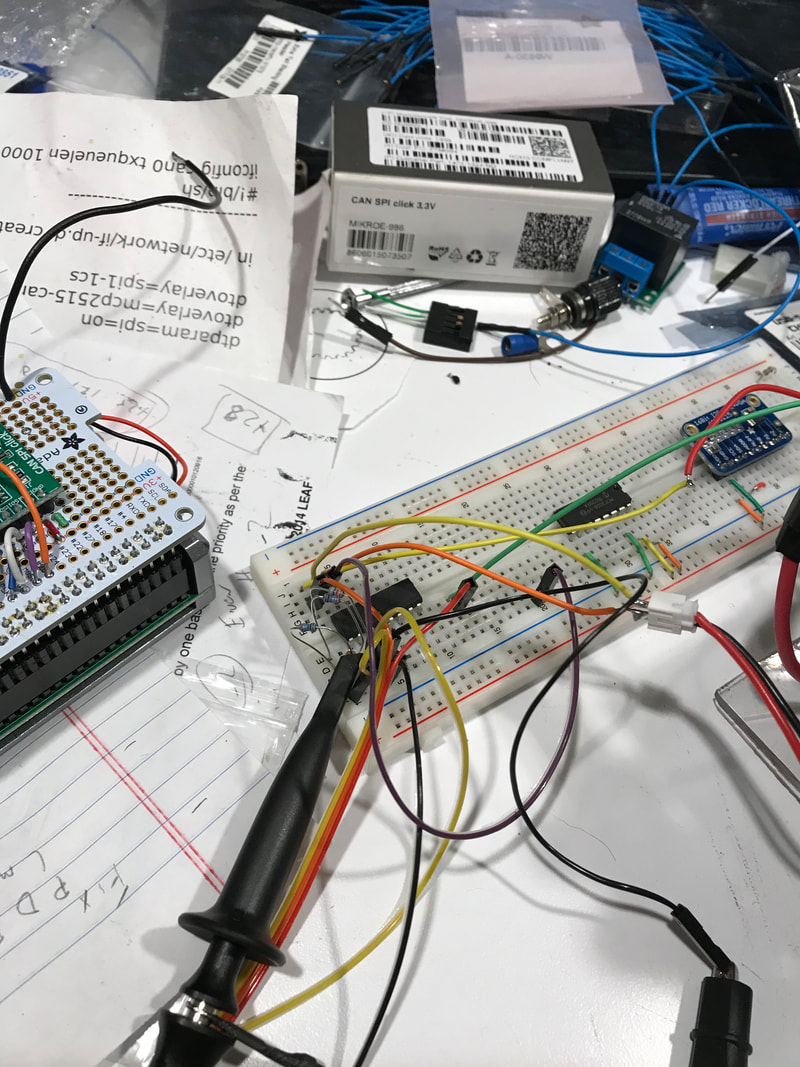
You know that feeling you get, that tingly anticipation of feeling flattened by the raw acceleration in first gear, breaking the tires loose at a twitch of the foot. My wife, Teresa noted I had a huge smile on my face after dropping the car off at Bruce and Eric's. I had this smile despite riding in the Miata that has doesn't even have an accelerator pedal or a working motor! I can already feel the fun! Last week's goal were to fit the battery boxes, make progress on the coupler, continue work on Parameter Editor software and get the big battery pack fully drilled for studs. We met those goals and more! We started the weekend with fitting the battery boxes. I thought I'd get a head start on the modifications. I promptly wrecked the prototype battery box by pushing on it and had to run it over to Bruce's for repair. Tack welds won't hold up to pushing and pulling. Bruce and Eric came over with the newly fixed battery boxes. After expanding the rear trunk hole a little larger than I originally thought, the battery box fit. If I really wanted the battery box to fit tight against the rear seat, I'd have to design a narrower battery as the square shape doesn't fit in the curved corners. This is what prototypes are for and gives us literally 'room for improvement'. Now that the prototype boxes will fit (at least in the back), Eric finished welding all five battery boxes. Way to go Eric! Now the car had to go to Bruce's so Eric and Bruce could weld the battery box holders to the frame. You may remember we disconnected the brake when removing the fuel tank. I bled the brakes, so we were ready to move the car when Bruce and Eric were available to work. Later in the week, I got surprise text on car night. Do you want to move the Miata? Oh, the excitement! Yes, we're going to get this thing done!! Being such a light car, it was quite easy to hook up to the built in tow hook in front, throw a loop of tow strap around the truck hitch and set off. Had to stop to tie up a large wire that had gotten disconnected when we removed the fuel tank. It had been a long time since I'd driven a convertible. The Miata is quite small and will be a lot of fun, even with a single Leaf motor. Thank you Eric and Bruce for making this happen. I thought I would not write about the coupler this week, as the new version wasn't due here until next week. However, a gracious reader left a comment on my page to the effect of "have you seen this coupler mentioned here?" Wow! I had started my coupler search before the mentioned coupler was designed so I hadn't seen it! This is great! Thanks reader, you are an honorary member of our team. I used freecad to measure this version against mine. The difference was that mine was .006" smaller. If this version is correct, mine shouldn't fit when it arrives. SendCutSend got done a little early and I got my piece. It *almost* fit, but not quite.. It's probably .006" too small. I love it!! This confirms that the online piece has the inner spline diameter 'correct' which will speed up getting a coupler that fits! I passed the new internet drawing to Doug and he printed it on an commercial grade 3D printer. Before printing the coupler, he printed a 1" cube and measured the result and found it to be within .002". The 3D piece is in the mail, so I'll have another data point to compare with! It's feels great to have all this support! A huge thank you, to the readers, honorary members of the team, helping out with support and suggestions. Thanks for the comments Readers are seekers, seek and you shall find. Please be curious and comment! You are helping. On the BMS front, we've had the Mini-pack hooked up for over a week without draining the pack. The pack voltage has stayed the same. I check the voltage according the BMS once per day and occasionally compare with my voltmeter. The BMS continues to work and not drain the pack, which is great news. It also didn't catch on fire, which my wife thinks is a great news too! The five batteries in the Miata will each need a serial port to talk with the BMS boards. These serial adapters plug into the Pi. Several serial boards can be plugged into one Pi. This means the Pi could have battery voltages connected to it (bad). To prevent this, Joe designed an isolation board that will connect to the serial board and then to the first BMS board in the chain of boards. That board replaces this mess on my desk. Joe ordered the boards and we should get those by the end of this month. After that, we'll need to research how and where to get 110 of the BMS boards built cheaply.
With all the coupler excitement, I didn't get a lot done on the Parameter Editor, but the part I did is progressing nicely and I'll have a running version next week. I was also able to finish drilling all the holes in the big battery pack for the supporting studs. This means I'll be able to move on to wiring the cells in series. In anticipation of assembling the batteries, more assembly hardware has been ordered, mainly lock nuts, washers and spacers. Next weeks goals with be to coalesce the coupler data and finishing the Parameter Editor. Will also verify that multi-board BMS boards are working correctly. Stay healthy and thanks for reading! Please comment! Your input can make this project better.
0 Comments
|
AuthorBill likes cars that understand the 'go fast now' pedal. Archives
May 2022
Categories |
Proudly powered by Weebly

 RSS Feed