|
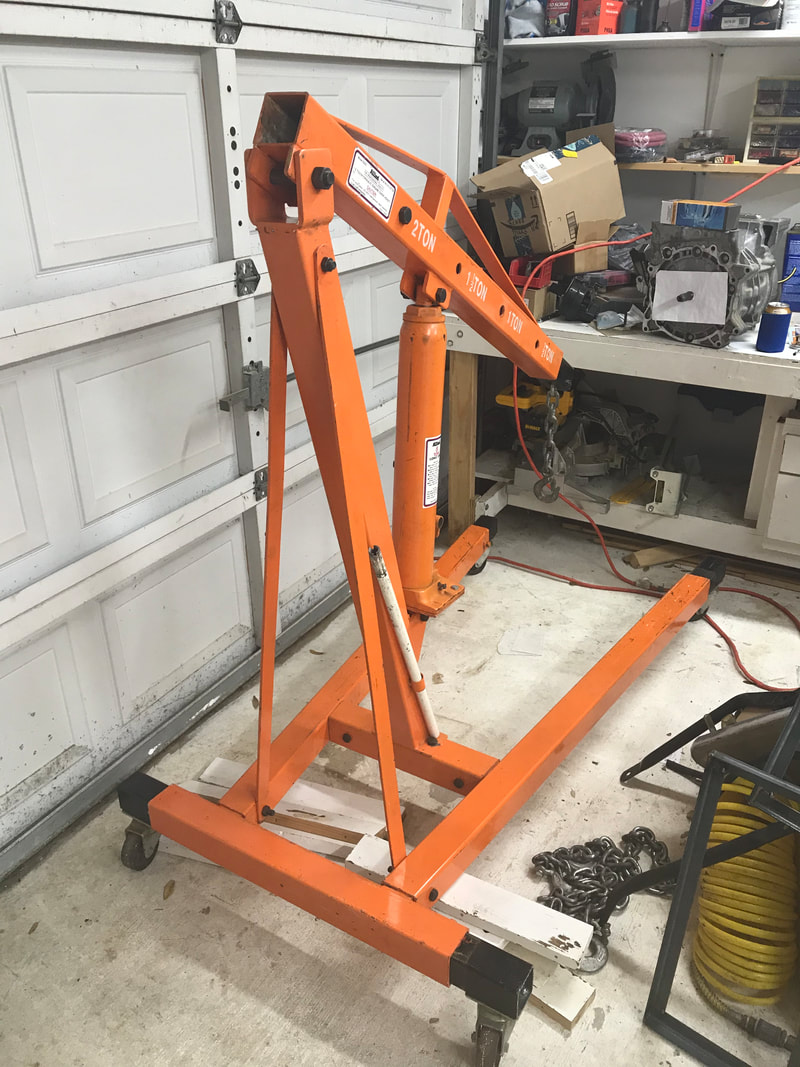
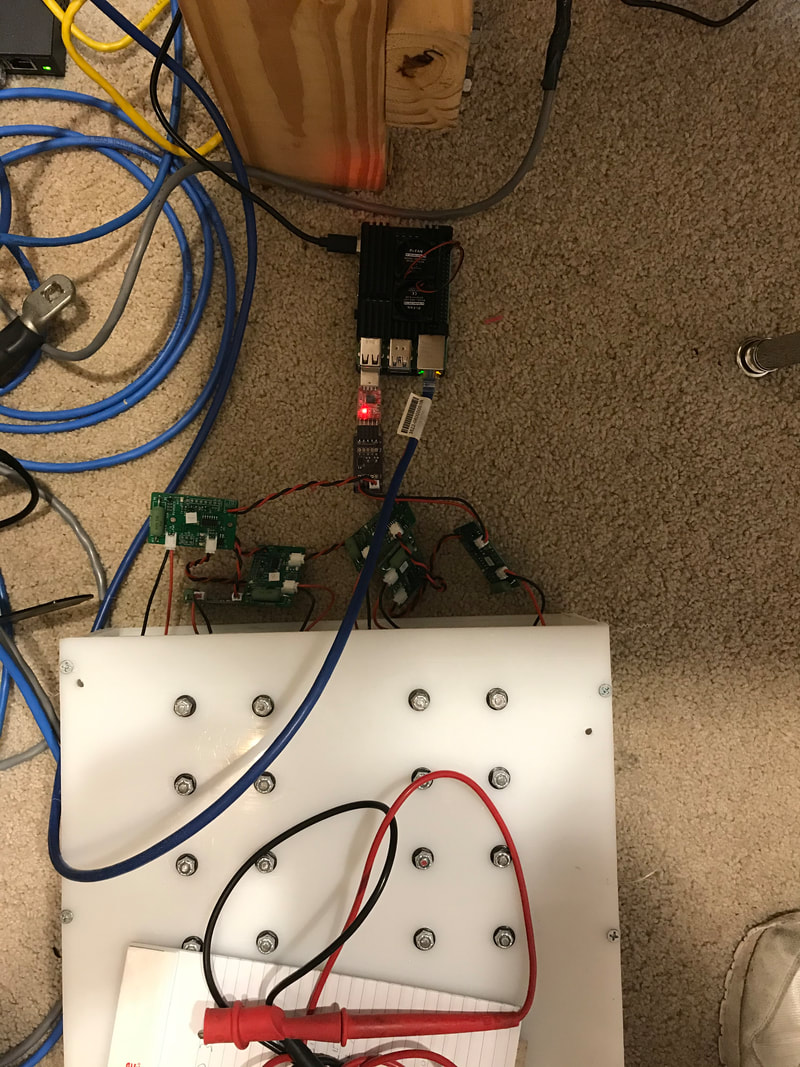
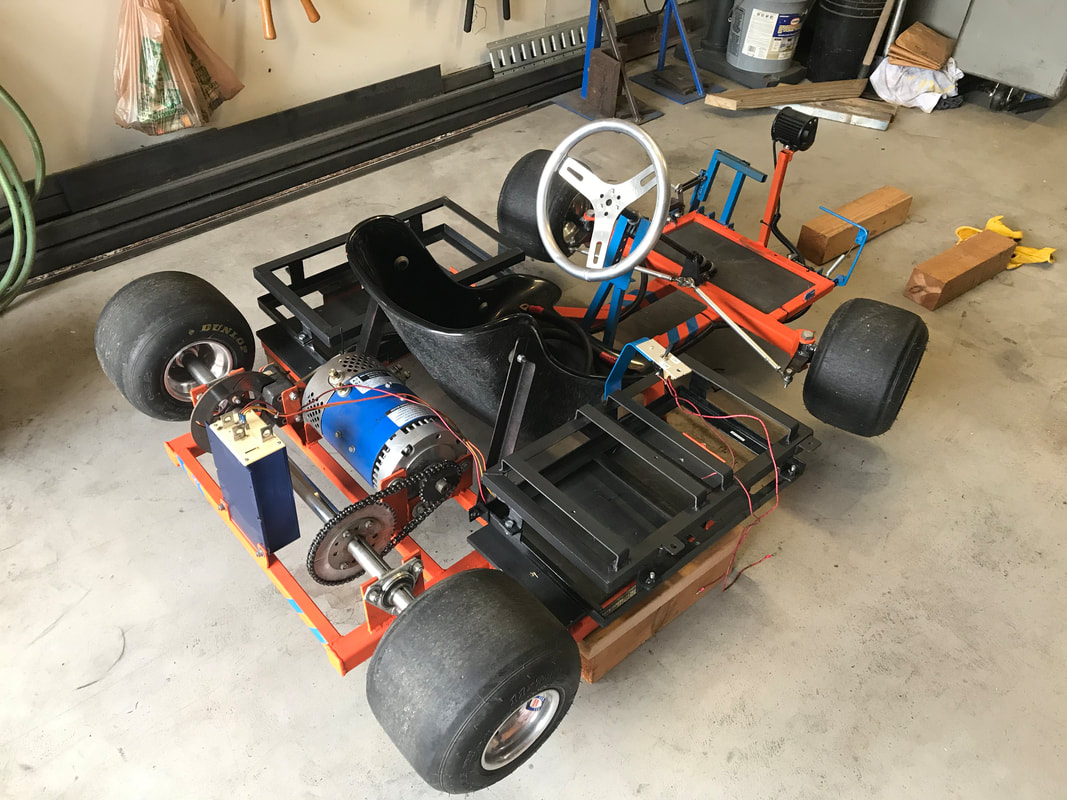
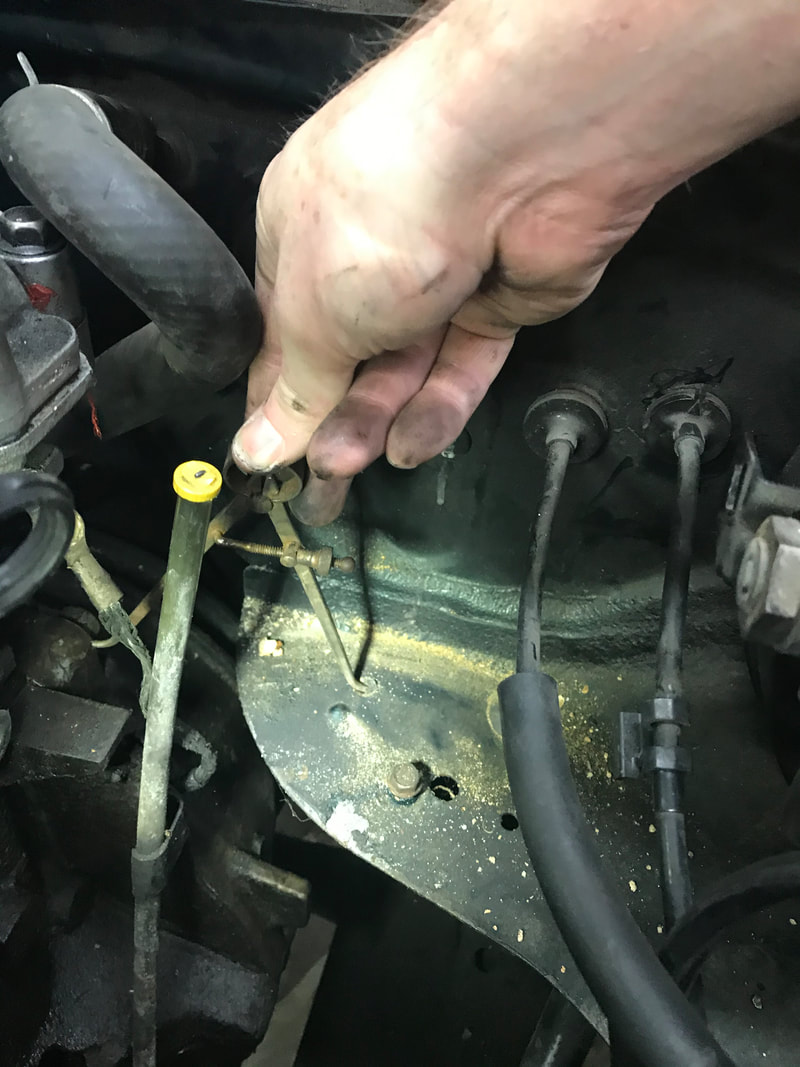
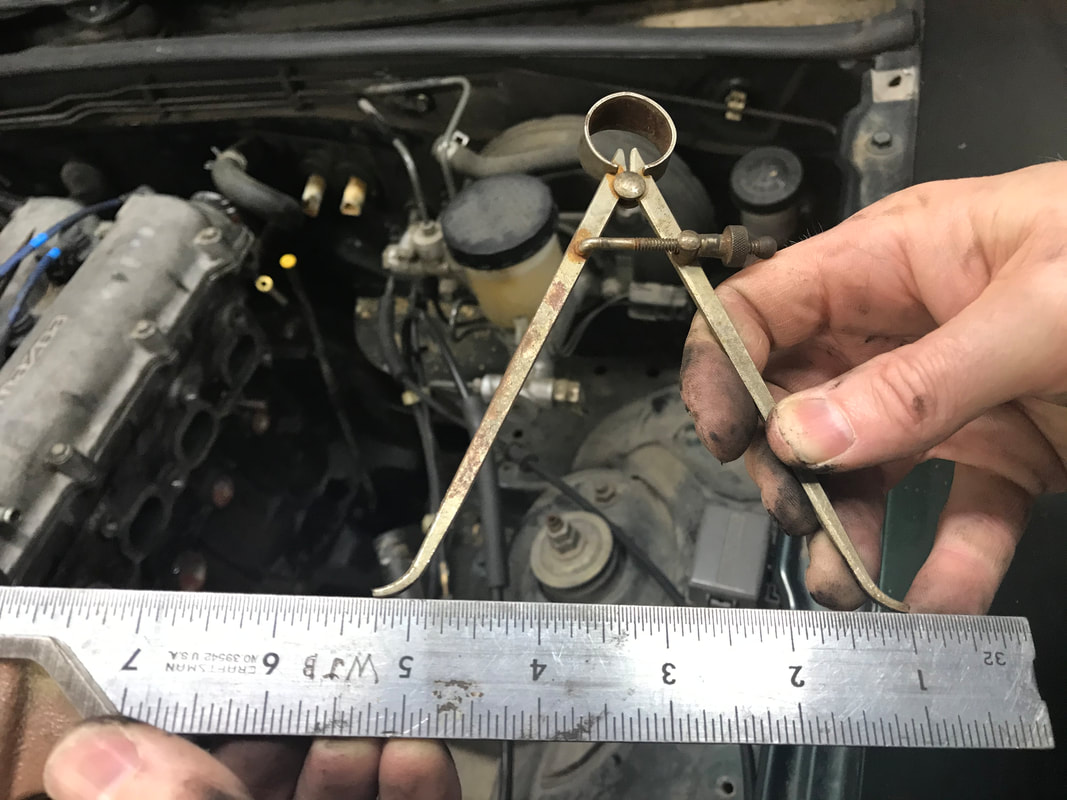
Hi Electrified Miata fans! We're getting closer to getting this project rolling on the road. This week was all about preparation to pull the Miata motor and doing some Battery Manangement System (BMS) software too. Part of the preparation involved borrowing an engine Hoist. It's been a while since I pulled an engine. In fact, the last time I did that, I had a garage with a chain hoist built in. This time I'll be using a hoist just like this. Thanks to Mark Rogalski and Bruce for making this happen. Also thanks to those in the Austin Miata Facebook community that offered theirs as well. Even though my Miata modifications may be a bit different than normal, I feel welcomed and supported. With the engine hoist out of the way, I started looking at the BMS details. Joe dropped off 17 BMS boards, which is enough for mini pack (4 boards) and one small Miata pack (2 strings of 6 boards). With these boards, I made a string of 6 (yes, they need mounted) and tested my 'discover what boards are connected' program. That worked well so I moved on to the 'identify, name and calibrate' program. I got the identification part to work pretty quickly. There is something gratifying about clicking the mouse and seeing the correct board identified by flashing green. I moved on to reading the cell voltages/temp, which is the first step for calibration. Each board has components with tolerances on it, so the individual boards can vary a little when measuring the battery voltage. I want an accurate measurement, so we need to go through a calibration step. That's as far as I got this week with the boards and BMS software. In anticipation of getting the smaller Miata batteries completed, we moved the go-kart to Bruce's for battery box installation. We'll be able to test the batteries and software in an 'easier to work on' situation. Here's the kart with the battery boxes mounted. Bruce welded the mounts on so we can pick the kart up by the battery boxes. I *like* things that can take a bit of punishment and keep working. Bruce also provided for the control box mountings as well. Bruce knows how to build stuff, just the way I like it. Satisfaction guaranteed! I'm lucky to have such a great brother to help on projects like this. I hope to have enough software done to get the kart running in a few weeks but it really depends on where my focus goes in these next weeks. There's the Miata motor pulling, and all the cleanup and mating the transmission with the Leaf motor to distract me! One of the preparation tasks for motor pulling involved documenting where the transmission is in the Miata with the stock setup. Bruce came over and helped me with two critical items. One, removing the hood, and two, taking measurements. After the hood removal, which is amazingly light, we set up to measure the transmission position relative to the body. The transmission fore/aft location is determined by mounts in the transmission rear, and we can't change that without changing the driveshaft length. The critical factors for us are the height, and side to side measurements. We used our Grandfather's tools for some of these measurements. I'm pretty sure both of them would have enjoyed this project. Thanks Bruce for keeping those tools handy and knowing how to use them.
After the measurements were done, I looked closer at the engine and still had some questions. Coming from a 70's Ford background, certain things were puzzling me. How did the AC disconnect from the motor? I only saw one bolt for the clutch slave. Did Mazda really only use one bolt? Lucky for me, Austin Waffle had recently removed an engine and was willing to share his experiences. It was easy to find his place as it had shiny Red NA Miata parked outside with the hood up and two early Miata's sitting in the drive in addition to one in the garage. Nicole Earle was there getting parts for her 94. I was really impressed by how clean her car was under the hood, especially compared with my 99. Nicole and I peppered Austin with questions about all things Miata. Austin answered each of us patiently and it was fun hanging with Miata enthusiasts. I learned there are 2 clutch slave bolts (one on top that I couldn't really see from the bottom). The AC bolts on to the side of the bracket vs the older GM/Ford which bolt from the top. Austin also warned me to drain the gear oil from the transmission as it will make a mess if I don't. I got to see the dash all taken apart and alternative ways of constructing motor mounts. The detailed knowledge will make the actual engine removal much smoother. Thank you Austin for taking the time to help out! Despite the proliferation of projects he had, he told me he could help if I really got stuck! Thanks so much. It was great to meet both of you. We are ready as we'll ever be to remove the Miata motor! Next weeks goals are, remove the Miata motor, clean up the transmission, and continue work on BMS software, specifically, allow calibration parameters to be entered and retrieved as well as configuration stored in a database. Thanks for reading. Hope y'all are having fun and staying healthy.
0 Comments
|
AuthorBill likes cars that understand the 'go fast now' pedal. Archives
May 2022
Categories |
Proudly powered by Weebly

 RSS Feed