|
Hello Electrified Miata fans! Last week we did everything we could to prepare for motor removal. That preparation paid off by making the motor removal easy. Some of the more time consuming pieces had already been done, like removing the exhaust and fuel system. I started Friday morning, and the motor was out by 11:30am. The only snag came at the very end, where I hadn't set up the hoist to lift the motor high enough. To compensate, I removed the front tires and lowered the Miata until it was nearly touching the engine hoist. The motor and transmission were free, but couldn't quite clear the front hood latch. It would have been really handy to have two people at this point. As I stared at the problem, Teresa popped into garage. How does she known when to do that? With her help, I lifted the transmission and she moved the engine hoist. It was *so* much easier with two people. Thank you Teresa for being there to lend a hand and take pictures! 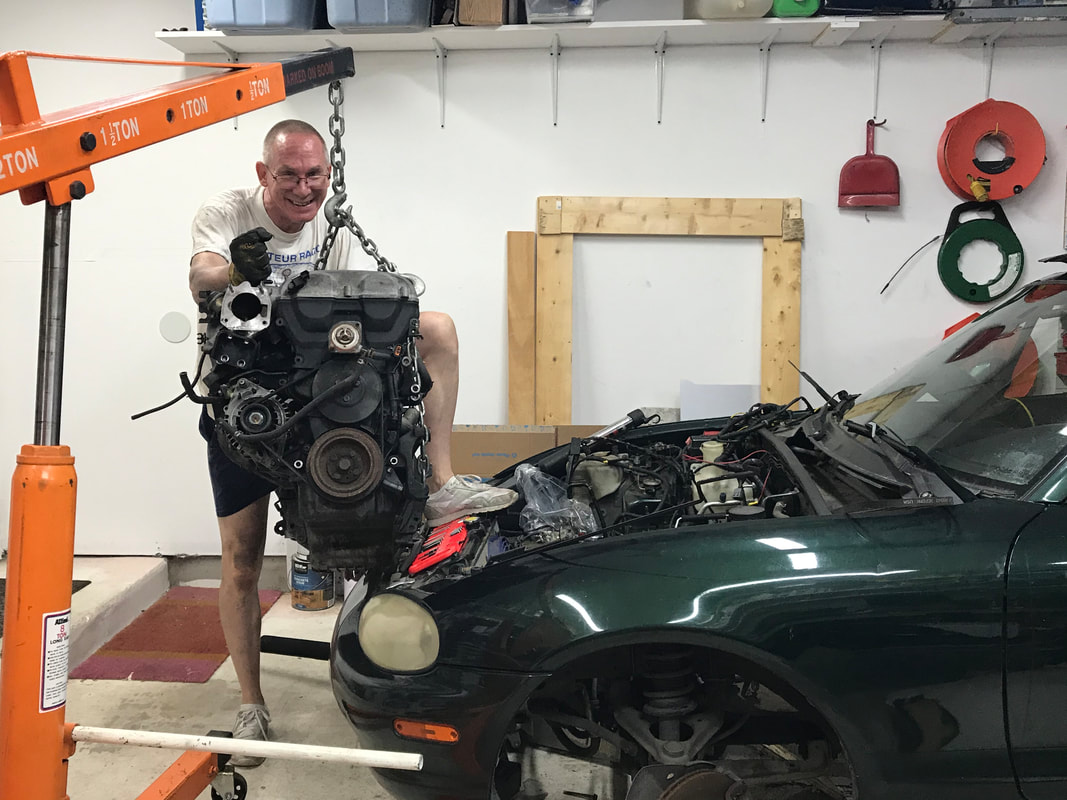 I had posted the motor to the Facebook Austin Miata group and Donnie Young was the highest bidder. I let him know his motor was out and he came over on Saturday to picked it up. Having the motor out of the garage was a big help with space. As an active Miata enthusiast, Donnie took the time to answer the questions I had about Miata improvements, like my ragged out soft top. Thanks Donnie for your time and making the process of getting rid of the motor easy and painless and fun. With the motor gone, I could turn my efforts to cleaning up. I had a large mess on my hands and most of it could have been avoided. Remember last week when Austin Waffle advised me to drain the gear oil from the transmission? I didn't do it, because I didn't believe there was much oil in the transmission. I formed this belief when we removed the rear end and had the transmission tipped down. In my experience with many previous cars, the transmission always leaks if you tilt it down and I don't *like* cleaning up gear oil as it has a memorable stench. As I pushed and pulled the motor, I started to smell that special odor. I was quite wrong about the transmission being empty and there was gear oil everywhere. In fact there was so much gear oil, it ran our from midway under the car back to the garage door. What do you do when something smells bad? You spray something pleasant smelling. I was liberally applying degreaser, which smells good, to the transmission and engine bay. I was pretty happy with my clever solution to the smell. After a while, my wife 'advised' me to open the garage door. When I opened the garage door to 'air out the place', I noticed a puddle on the floor. While looking down, something smelly dripped on my head from the garage door seal now above my head. My wrongly held belief that the transmission was empty cost me quite a bit of aggravation. Would it really have been that hard to pull the plug and check? You can ask my wife how much I enjoy cleaning. Sigh. To give you some perspective, I could smell the gear oil and degreaser at the base of our driveway, and my sniffer has not been noted for it's sensitivity. Yep, it really smelled. Kitty litter helped quite a bit. The other bummer was motor pulling was rough on my tools. I'd bought Craftsmen tools nearly 40 years ago, before Miatas were made. After 240,000 miles of heating and cooling, some of the bolts were quite tight, especially the smaller ones used to hold wire looms and accessory brackets. I ended up snapping a 12 mm 3/8" drive socket, using only the 3/8" ratchet. I also shattered a 3/8" universal, trying to get at some of the hard to reach bolts. Lucky for me, Craftsmen still honors their guaranty. Those tools have been one investment that has paid off. Thanks Dad, for encouraging me to invest in myself and get the tools at a young age. In other news, Joe was busy solving the signal degradation problem we've seen on the BMS boards. He'd ordered some different opto-isolator chips for experimentation and found one that reduced the delay from 10 micro seconds per board to 1 micro second per board. 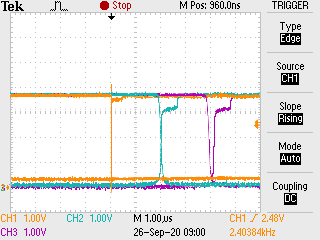 He also took the time to characterize how voltage and temp changes affected our circuit performance. 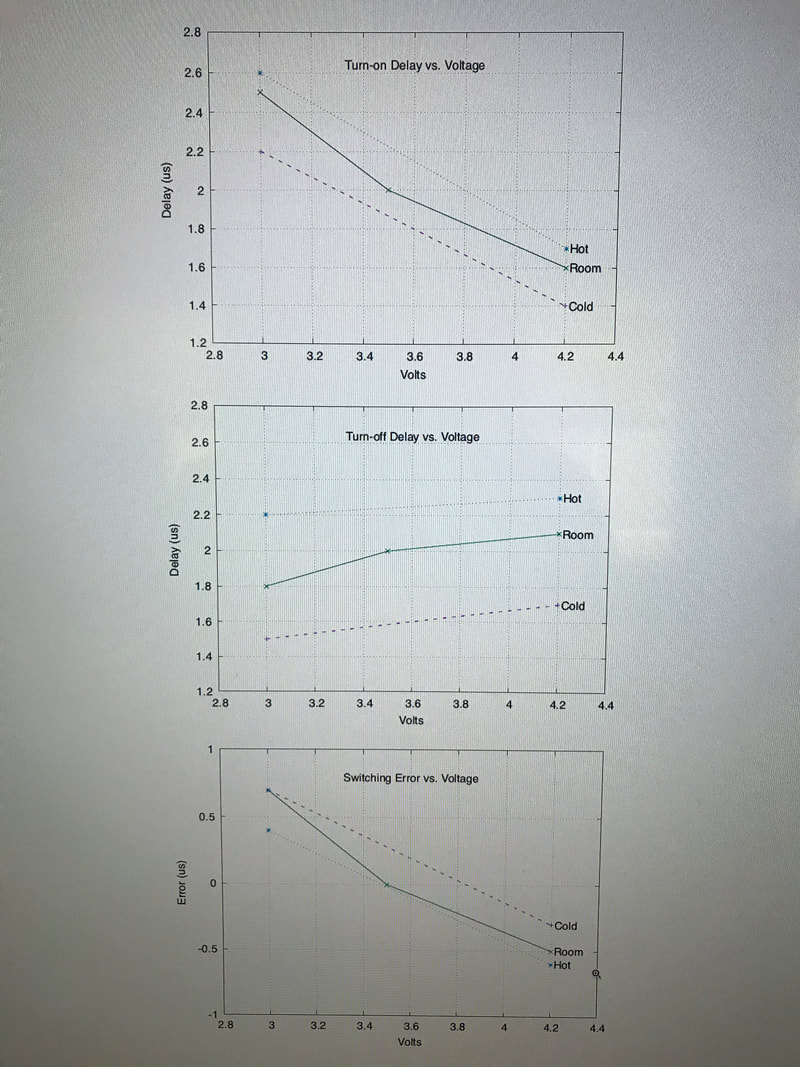 After figuring out what components were needed, he turned his attention to how these components would fit on the circuit board. The fitting had its own challenges as one of the components, a better opto is quite a bit larger than the original. After some circuit board Tetris, a new batch of 30 boards has been ordered! Yay! Joe then worked on the serial isolator boards. We had to compromise on that board because space requirements made it difficult to fit the larger opto. By using a better circuit and the smaller opto, the delay was reduced to 3 micro-seconds and there is only one of these boards per battery. Then Joe found out the boards have to be a certain minimum size, so Joe got creative by making the board larger, and adding a cut line 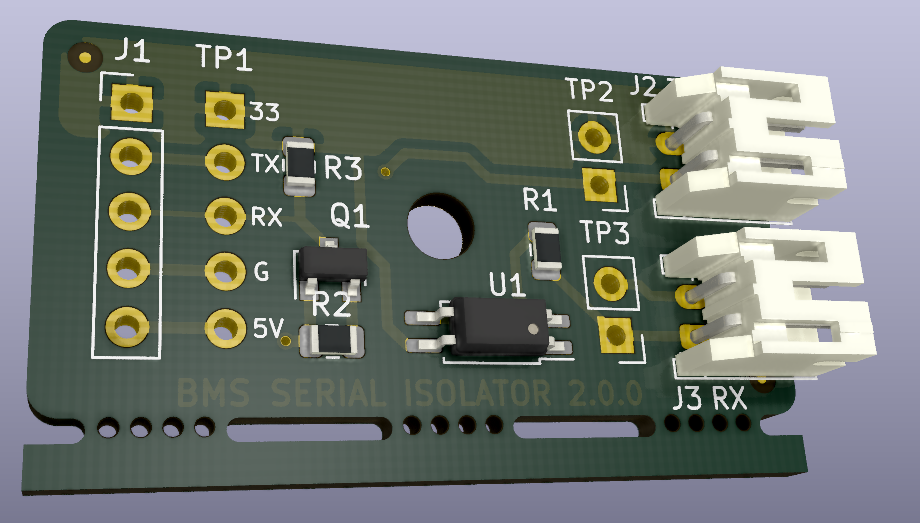 Those will be ordered next week Meanwhile, I was trying to integrate the previous generation BMS boards into the batteries, so we can get some go-kart testing done. I picked up work on the 'identify, name and calibrate' program. I was working on the calibration stage, which requires measuring the voltage on the board with a meter and comparing them to the numbers reported by software. Measuring the board voltage requires connecting the meter someplace in the power circuit. I choose where the connector attaches to the board. As you can see, that is an accident prone spot. 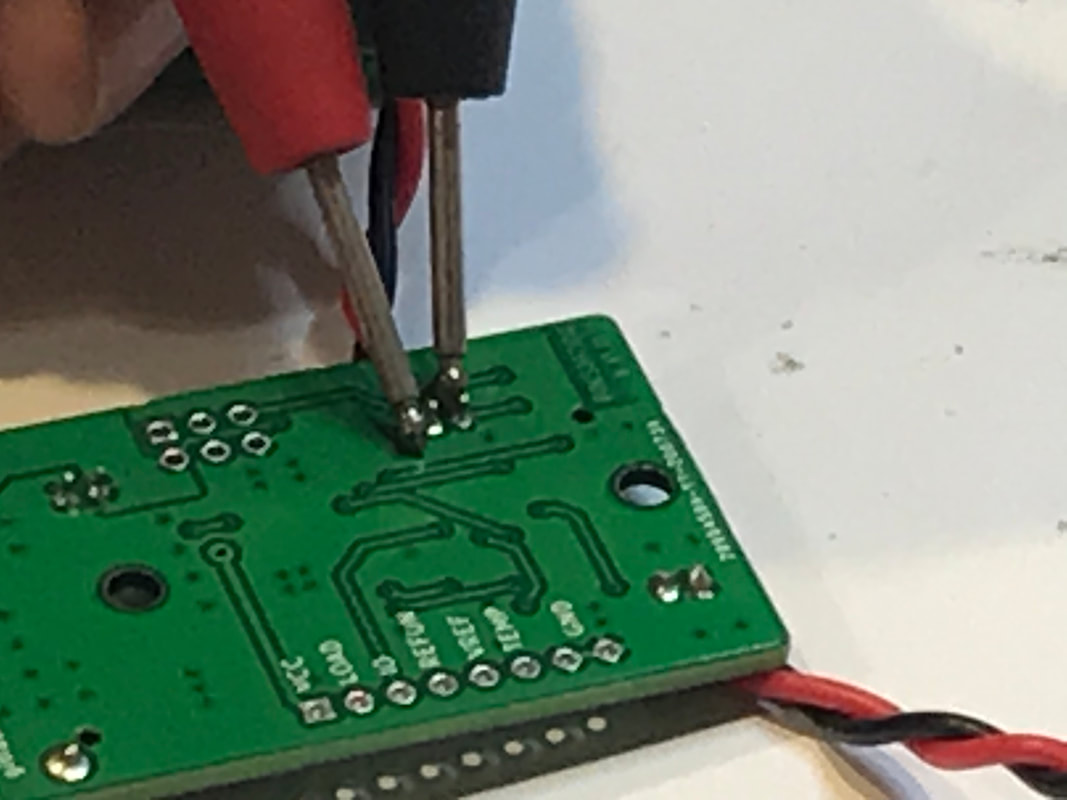 Any guesses about what happens when the probe slips in between and connects those two points? Unfortunately, I can tell you. A few small sparks, and the connector falls off the board. I was pretty unhappy, and about to compound my mistake. The tip of my meter probe was pretty hot. I found the connector still attached to the battery pig-tail. As I attempted to separate the connector from the pig-tail, the hot insulation parted to allow my metal conductive needle nose to grab on. You probably guessed it, more pieces to repair. Yikes! It took me a good 30 minutes to settle down and start fixing thing. I was upset and really disappointed in myself.
Joe was extremely nice and told me he could likely fix the board, as it no longer worked after I replace the broken connector. I'm going to have to learn some better ways of working with live batteries. As Joe said, "Batteries show no mercy". Joe pointed out a better place to measure the board voltage so I'll avoid making that mistake again. I've still got lots more boards to calibrate. Eventually, the BMS boards will be calibrated from Joe's test fixture. Even then, I'll still want to check how close the calibration is, although I have no worries on that account. Joe does great work. Next week's goals are to start designing the interface metal between the Leaf motor and the new cleaned Miata transmission. I also want to get one battery pack finished so I can observe the charge cycle through the BMS boards. Lots and lots of things to do. Hope everyone is staying healthy and having fun! Thanks for reading.
0 Comments
Leave a Reply. |
AuthorBill likes cars that understand the 'go fast now' pedal. Archives
May 2022
Categories |
 RSS Feed